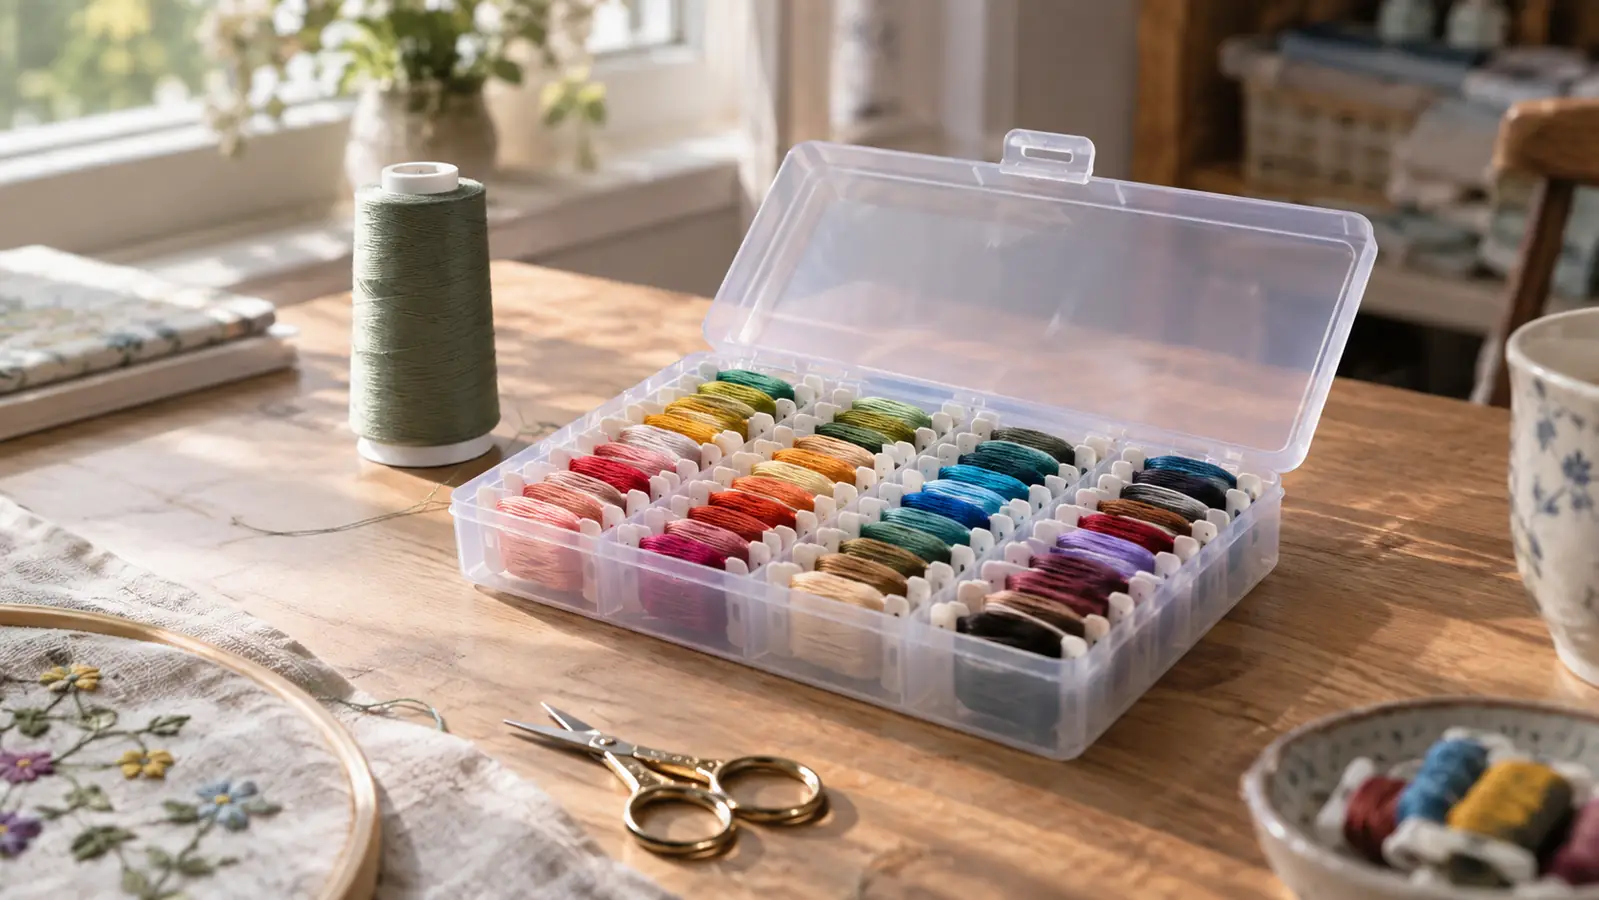
The first time I watched bobbin thread show through on a customer job, it was white microfiber polos for an HVAC company. Thin gray lines were sitting right on top of the satin letters, like the machine had decided to stitch a second row of dashes. I tried every fix I knew. I rethreaded the top, cleaned the case, messed with the tension, and ruined five shirts before I thought to look at what was actually in the bobbin. I had been using a 40 weight bobbin thread I wound myself. The fix that finally held was switching to a 60 weight prewound bobbin. The box I keep on my shelf now is DOUBLELIN APW-60S2 size A prewound bobbins, white, 144 pieces.
Here is why the weight matters. The top thread and the bobbin thread lock together inside the fabric. A 40 weight bobbin thread is the same thickness as most 40 weight top threads. When both sides are heavy, the lock point is a thick knot, and on light fabrics that knot pushes toward the surface. A 60 weight bobbin thread is thinner. It takes up less space in the stitch, so the top thread can cover it completely. You can often get away with a heavier bobbin on towels, canvas, and structured caps. On performance knits, lightweight polos, soft tees, and table linens, the difference shows immediately.
The 60 weight bobbin that fixed my white shirt runs
DOUBLELIN APW-60S2 prewound bobbins are the ones I switched to after five ruined shirts on one order. They are size A, wound more evenly than most bobbins I wind myself, and the 60 weight thread stays buried under a 40 weight top thread. Try a test stitch before you change anything else.
Amazon Check Today's Price on Amazon →The order below is what I actually do now. It takes about twenty minutes the first time, including a test stitch. After that it is a five minute habit and it saves me from redoing customer work.
Why the Bobbin Thread Goes to the Face
Every stitch is a small balance. The needle thread comes down through the fabric and loops around the bobbin thread. The two threads should lock somewhere inside the material. If that lock drifts toward the face side, you see bobbin thread on top of the design. That usually is not a broken machine. It is the result of a bobbin thread that is heavier than the fabric needs, a bobbin case that is too tight or too loose, or fabric that is shifting as the needle goes in.
Show-through appears in the first pass, not after wear. It shows as short dashes along the edge of satin lettering or as a faint shadow in a fill area. Catch it on a sample and it is a ten minute fix. Catch it after a run of shirts and it is a full redo.
The same design can run all day on a towel because the weave holds every thread in place. A performance knit gives a little as the needle goes in, and that give is enough to let a heavier bobbin thread wander toward the face. So the fix is a combination of thread weight, fabric, backing, and machine settings.
Do not assume color matching hides it. A white 60 weight bobbin thread under a white 40 weight top thread still matters because show-through can show as a sheen change rather than a color change. The extra thickness of a 40 weight bobbin thread reflects light differently. The thinner thread is the cleaner thread on light goods.
Step 1: Put a Fresh 60 Weight Prewound Bobbin in the Case
Stop winding 40 weight thread onto bobbins for designs that will sit on light fabric. A hand wound bobbin can be overfilled on the outside, looser in the center, or slightly too wide at the rim. Any of those will change tension as the bobbin empties. That is why a design can look good for the first ten minutes and then start showing bobbin thread. A prewound bobbin from a manufacturer is wound to one fixed width, so it behaves the same from the first stitch to the last.
DOUBLELIN APW-60S2 is a size A bobbin, which drops straight into the bobbin case on my six needle. It comes in a box of 144, which sounds like a lot, but a rush order with several color changes will put a fresh bobbin in every color. I do not have to wonder whether the last part of the bobbin will wind evenly. More importantly, the 60 weight thread is fine enough to stay buried under the top thread.
Leave the top thread at 40 weight. The idea is to keep one heavy thread on top and one light thread underneath. If both threads are 60 weight, you lose some coverage and the design can look thin from the face side.
Step 2: Check the Bobbin Case Tension With a Fresh Bobbin
A prewound bobbin only helps if the bobbin case is in the right range. If the case tension is too loose, the bobbin thread can be pulled up with the needle thread. If it is too tight, the thread drags and the fabric can pucker. The answer is not to make the bobbin tension as loose as possible. The answer is to set it somewhere in the normal range so the 60 weight thread feeds one neat layer at a time.
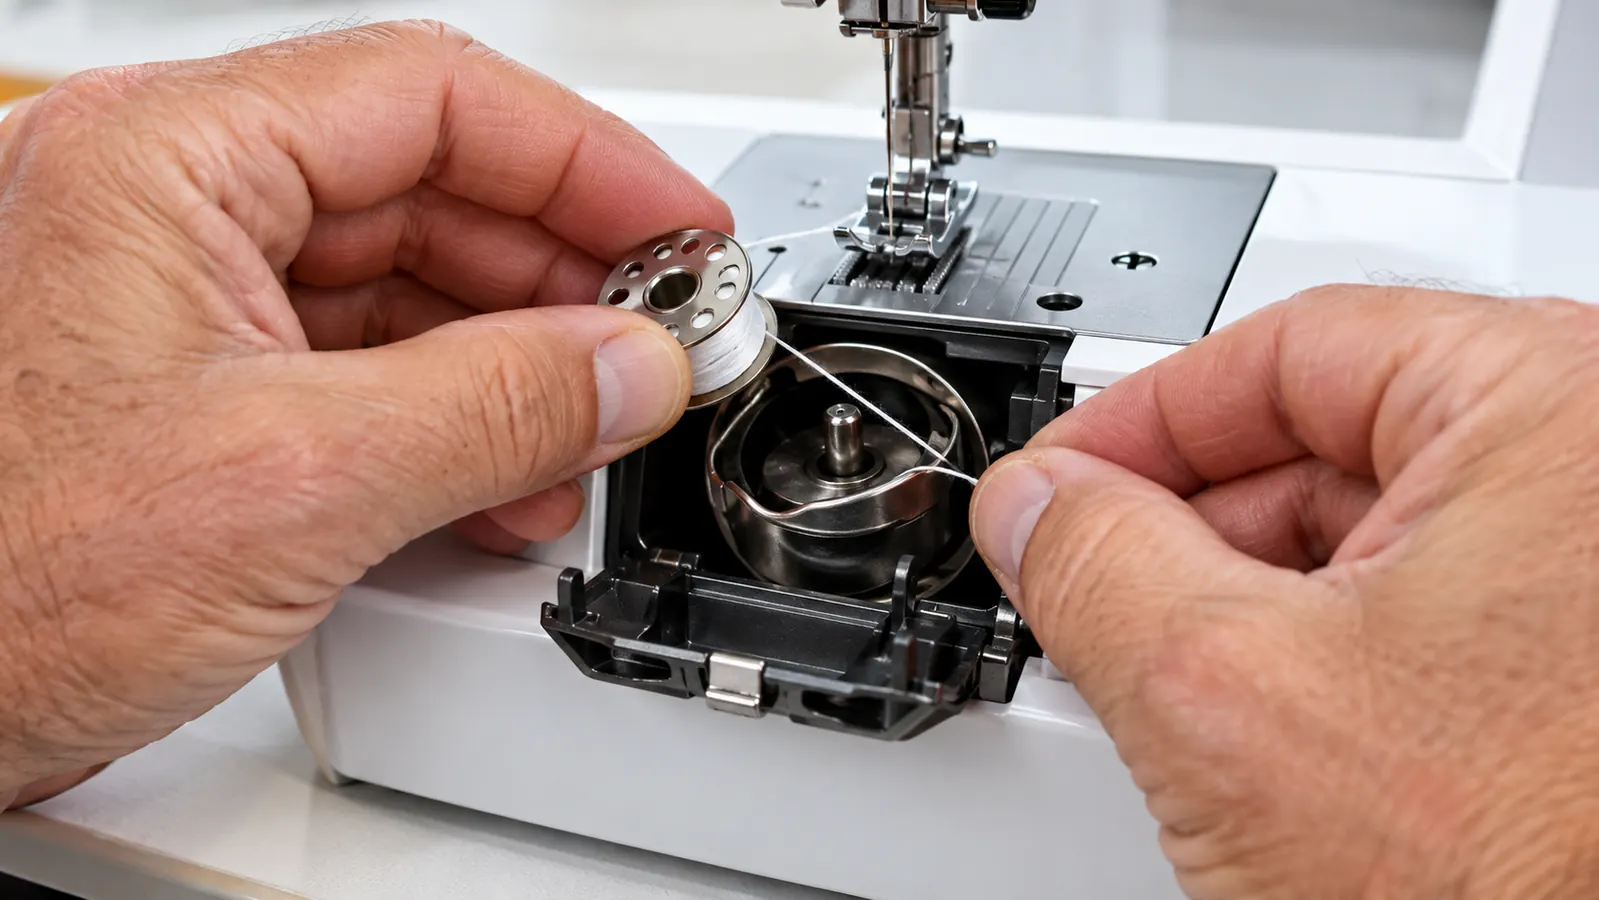
Put a fresh DOUBLELIN bobbin in the case and pull the thread through the tension spring, under the little finger, and out through the opening. Hold the thread tail and let the case dangle. When you pull slowly, the case should move down in small, even steps. If it falls freely, tighten the tiny case screw about an eighth of a turn. If it will not move at all, loosen the screw an eighth of a turn. That small range is enough in most cases.
Do this before you adjust anything else. Bobbin case tension drifts over years of use, and a machine that sewed fine with 40 weight hand wound bobbins may behave differently with 60 weight prewound bobbins. A five minute test prevents you from changing the top tension for the wrong reason.
Step 3: Clean the Bobbin Race and Case Before You Test
Lint is the quiet cause of bobbin show-through. When lint packs into the race, it lifts the bobbin case slightly and changes the tension. The change may be so small you cannot see it, but it is enough to let the bobbin thread climb on a dense design. The first step after loading a bobbin should always be a quick clean.
Take the bobbin out and remove the case. Use a small stiff brush to sweep the race, the area around the hook, and the back of the case. If you use compressed air, give short blasts at an angle so you do not push the lint deeper into the machine. Check the spring and the tension finger for a tiny piece of thread fuzz. That fuzz can keep the thread from seating in the tension spring and make the bobbin tension feel different from what it actually is.
I clean the bobbin area every time I switch to a light colored order. It takes less than a minute and it removes one more variable before I run a test stitch. Cleanliness will not fix show-through by itself, but it will stop you from troubleshooting a problem that is actually just packed lint.
Step 4: Stitch a Sample on the Same Fabric You Will Embroider
You cannot judge bobbin show-through on a cotton scrap when the job is a microfiber polo. Weave, thickness, and stretch change the way the stitches sit. Hoop a piece of the actual fabric with the exact backing you plan to use, and stitch the actual design or a dense test block of satin lettering.
I keep a drawer of fabric scraps from past jobs for this exact reason. Before I start white polos for a customer, I cut a four inch square from one of the shirts, hoop it with no show cut away, and run the logo in white. Then I hold it up near the window and look at the front. If I see any trace of a gray thread, that is the bobbin, and I fix it before the real shirt goes in the hoop.
Look at the front, not the back. Thread on the underside is normal and expected. Show-through only counts when the bobbin thread has climbed to the customer side of the stitch. When you look at the sample under good light, you are seeing exactly what the customer will see when they pick up the order.
Step 5: Move the Top Tension One Small Step at a Time
Once the 60 weight bobbin is in and the case is clean, most of my show-through is gone. If a sample still shows it, the next variable is the top thread tension. The goal is to keep the top thread snug enough to cover the bobbin thread. I start at the tension setting my machine uses for ordinary 40 weight embroidery and then make one small adjustment from there.
If the bobbin thread still shows, turn the top tension a small amount, roughly half a number. Run the same sample again. Continue one half step at a time until the show-through disappears and the design still lies flat. If the fabric starts to pucker or the top thread starts to shred, you have gone too far, so turn it back.
Do not change bobbin tension and top tension in the same test. When you change two things, you will not know which one fixed it. If the problem comes back in the middle of a job, you would have to start over. One variable per test gives you a setting you can repeat next time.
What Else Helps
If the 60 weight bobbin alone is not enough, check the needle. A used or dull needle pushes through light fabric instead of piercing it cleanly. That leaves the fibers disturbed and lets the bobbin thread shift. Put in a fresh needle when you switch from towels to shirts. For a light knit, a size 75/11 needle is a good starting point.
Backing matters too. On stretchy performance fabric, tear away backing allows the fabric to move under the needle. The movement can let the stitch relax and the bobbin thread to surface. A no show mesh cut away backing holds the fabric still and gives the top thread a stable base to sit on.
Dense little lettering is the place where bobbin show-through shows up first. If the design has very small letters or tight satin fills, slow the machine down a little. A lower speed gives the needle thread time to cover the stitch and gives you a cleaner final look on light colored goods.
Thread quality plays a part too, but not as big as people think. I have used premium top threads and budget bobbin thread. The common denominator in show-through is still weight and tension. A clean, good quality 60 weight bobbin thread matters because broken fibers create lint that changes tension as the bobbin spins.
Switching from 40 weight to 60 weight in the bobbin stopped the show-through on most of my white shirt orders before I changed a single tension setting.
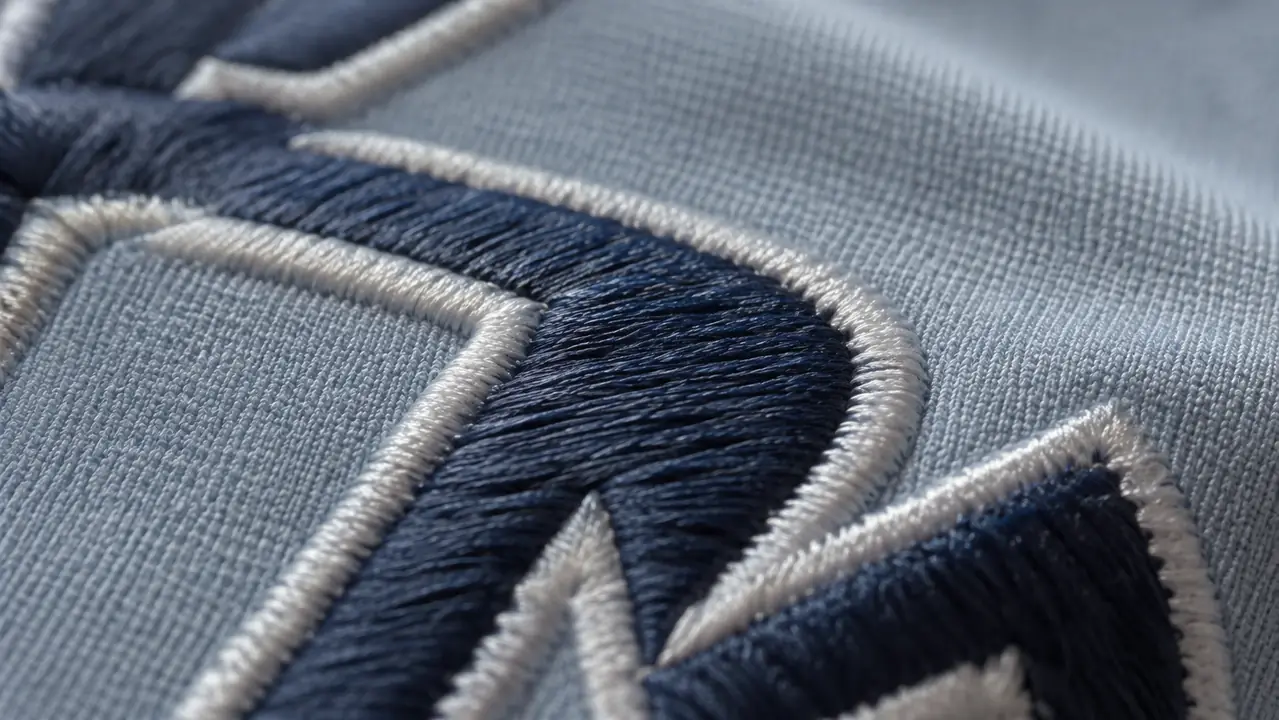
If the Show-Through Is Still There
Go back to one changed variable at a time. Hoop another piece of the same fabric and run the test using the 60 weight bobbin. Change only the top tension by half a setting. Run it again. Test samples last longer than memory, so pin them together and write the machine setting on the corner. Once you find the number that works, repeat it for all future light fabric orders.
If you are having trouble seeing the show-through, run one sample with a contrasting bobbin thread only for testing. The bright thread will climb to the face if it wants to, and you will see exactly where the tension is off. Then put the matching 60 weight bobbin back in for the real order.
Put a 60 Weight Bobbin In Before Your Next Light Order
If bobbin show-through has followed you across a stack of shirts, load a DOUBLELIN APW-60S2 prewound bobbin and run one test on the actual fabric. It costs one sample and a few minutes of setup.
Amazon Check Today's Price on Amazon →