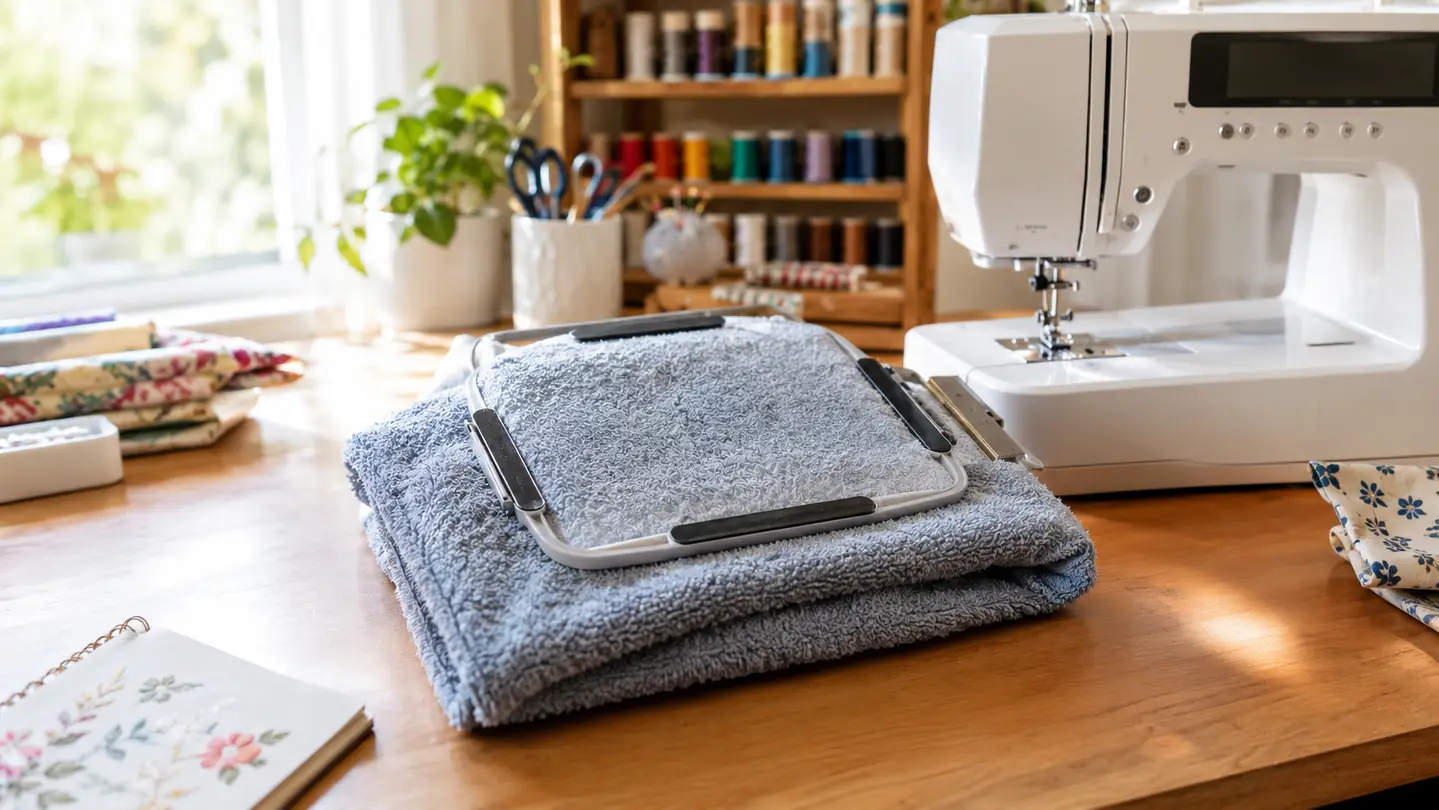
Thick fabric is what finally made me stop fighting my screw hoop. Towels, canvas totes, and polar fleece will not stay put when a clamp hoop is doing all of the squeezing. You tighten the screw, test the fabric, and it feels solid. Then the first color change happens and the whole design is off by a thread.
That was the routine until I hooped a 16-inch towel in the Sew Tech magnetic hoop. The fabric stayed flat from the first stitch to the last, with no ridges on the outside edge and no rehooping after I changed thread colors. I still use my regular hoops for flat shirt backs, but for anything with nap or thickness, this is the method I reach for.
The Sew Tech Magnetic Hoop Is the 6x10 Bar Hoop I Keep on My Table
It holds towels and canvas with even pressure instead of one pinch point, which means fewer rehoops and cleaner registration on dense designs.
Amazon Check Today's Price of the Sew Tech Magnetic Hoop on Amazon →Why a Screw Hoop Lets You Down on Thick Fabric
With a clamp hoop, the fabric is held by pinch points along the outer ring. Thin fabric bends around those points and lays flat. A thick folded towel resists the bend, so the center of the hoop stays loose. Every stitch pushes the needle down into that loose area, and dense designs turn into puckered stitching.
The clamp can also damage the fabric before you ever sew. On a towel hem, the pressure of a screw hoop can leave a permanent crease or flatten the pile. That matters when I am hooping a stack of kitchen towels for a church order and every one has to look clean. A screw hoop works until the pile gets thick, then the math changes.
What You Need Before You Start
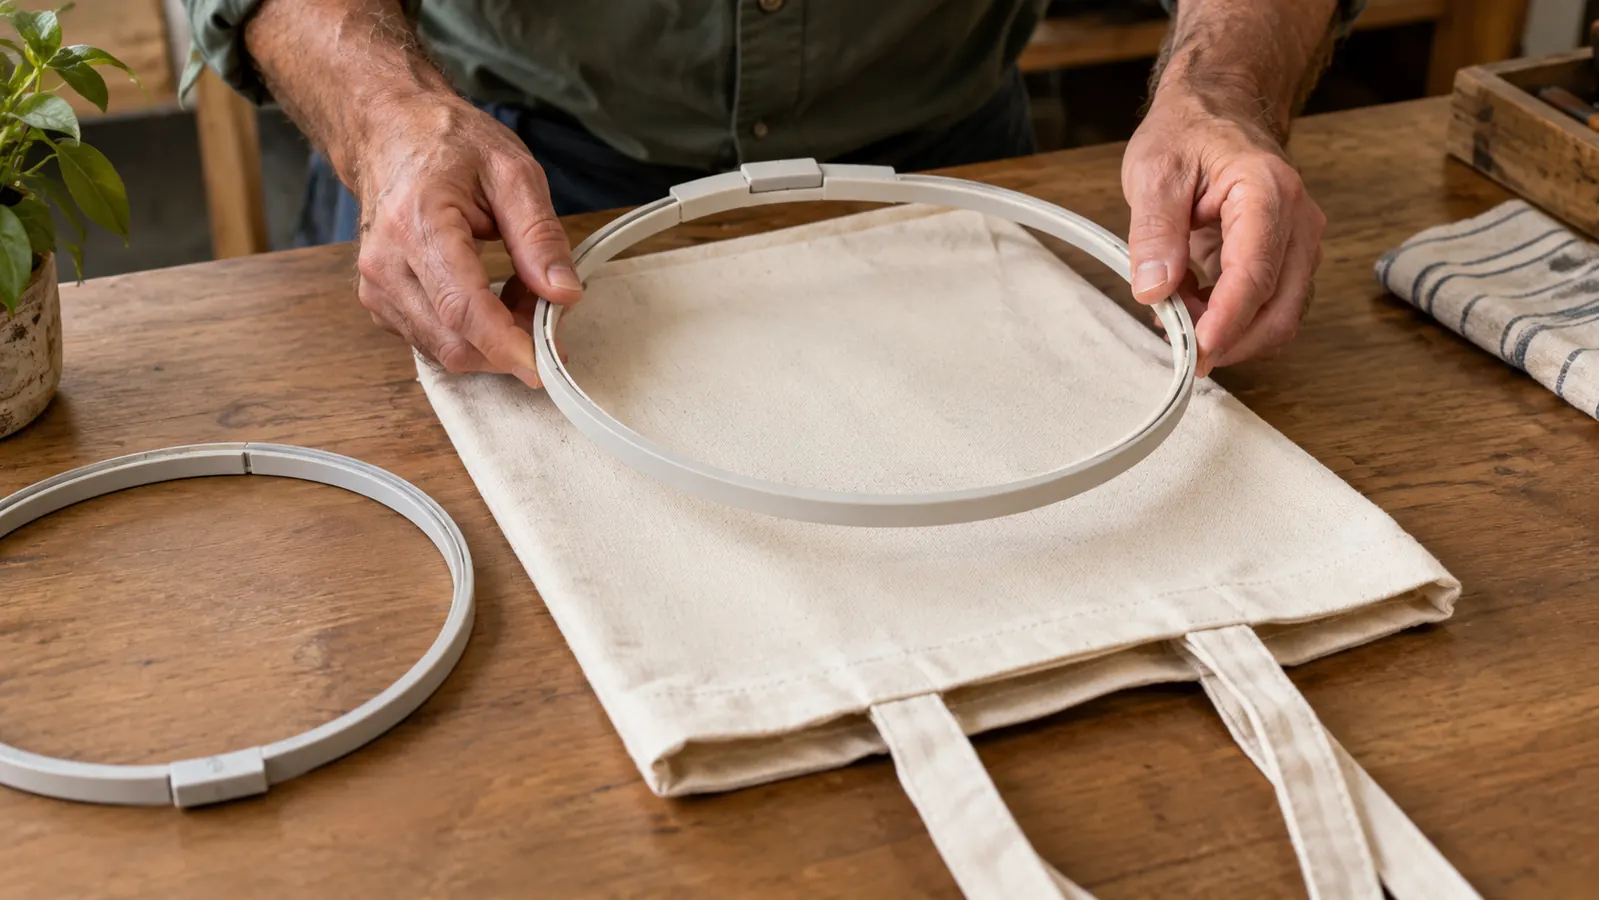
Here is the short list I use. The Sew Tech 6x10 magnetic hoop, a piece of cut-away backing big enough to extend about 2 inches past the hoop on every side, a water-soluble marker, and a clean flat surface. I also keep a light basting spray nearby, but I use it only when the fabric will not stay put.
The frame is the part that changes how thick fabric behaves. Instead of squeezing along one edge, a magnetic hoop pulls from both faces of the frame. That spreads the tension across the full hoop area, which is exactly what a fluffy towel or a stiff canvas bag needs.
How I Hoop a Thick Towel in About a Minute
This is the sequence I use now. It takes about a minute once the backing is cut. I do the same steps for towels, canvas tote panels, and fleece throws.
Step 1: Back the Fabric Before It Touches the Hoop
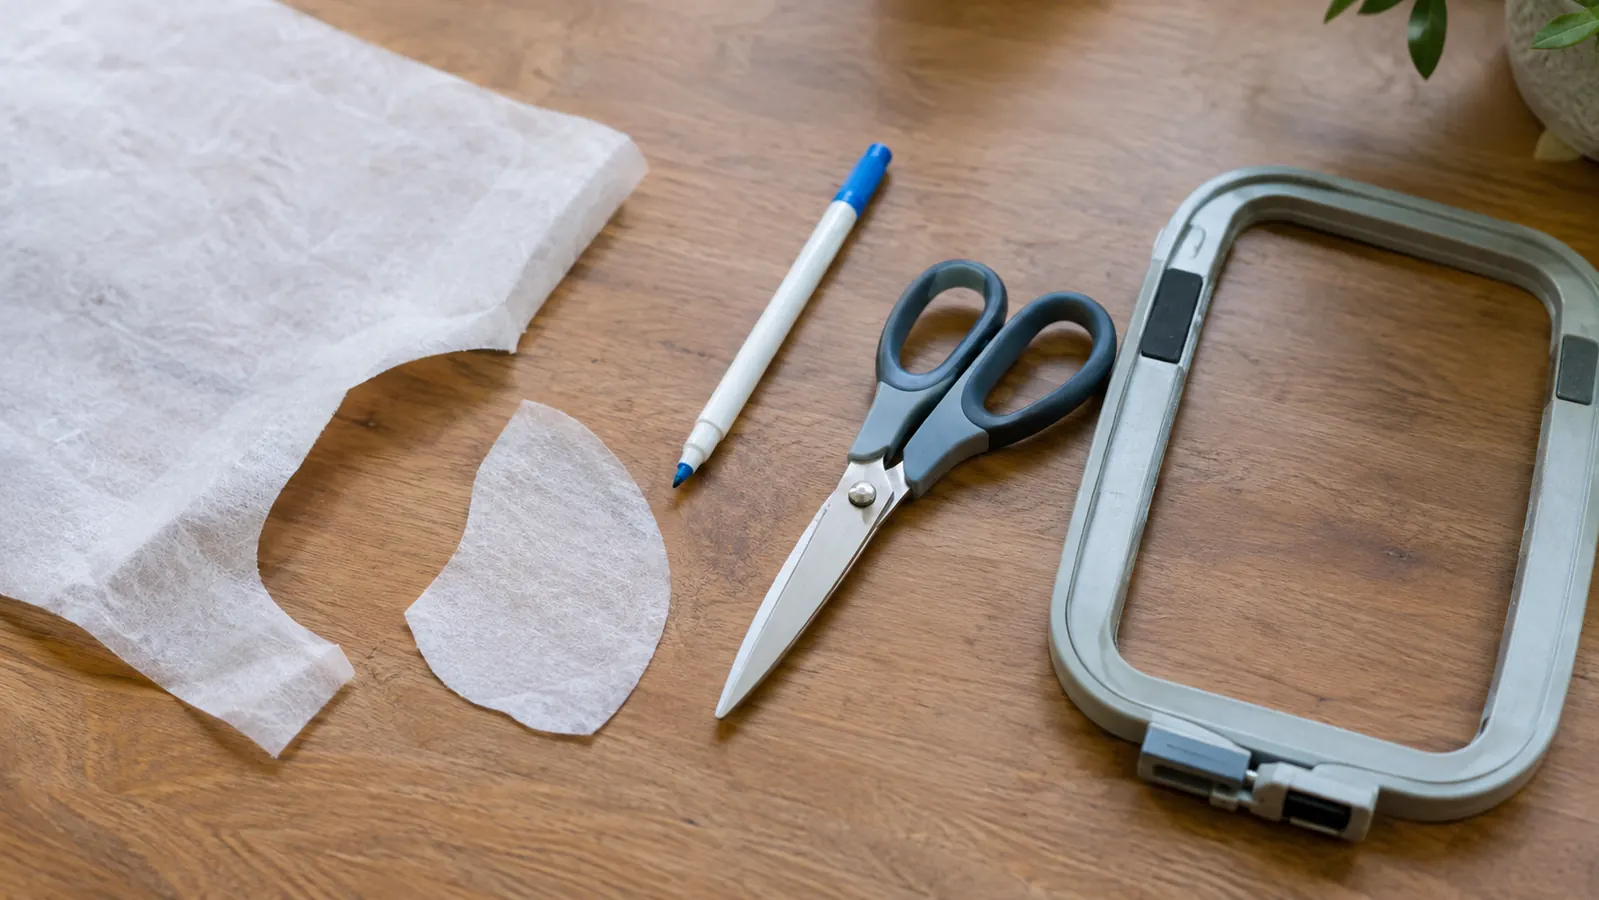
Cut a piece of cut-away backing large enough to cover the design area and then some. Terry cloth stretches as the needle penetrates, and cut-away backing keeps the stitches from expanding with that stretch. I do not use tear-away on a towel, because pulling the tear-away away after the sew can distort the outer edge of the design.
Pin or spray-baste the backing to the wrong side of the fabric. If you use basting spray, apply a thin coat, wait until it feels tacky, and then lay the backing down. If you skip the wait, the two layers can shift while you are positioning them, and that shift turns into a registration problem later.
If the towel has a woven border or a hem seam, place the design away from that seam. Extra thickness under the frame makes it harder for the magnets to seat evenly. I move the design by half an inch when I can, even if it means using a slightly smaller hoop size.
Step 2: Mark Center Before You Close the Hoop
Magnetic hoops close fast. Once the two sections are together, you cannot nudge the fabric the way you can with a screw hoop, at least not without opening the whole thing. That means placement has to be decided first. I draw a center cross with a water-soluble marker before the frame comes anywhere near the fabric.
For a centered design, the cross sits in the middle of the hoop opening. For a left chest design on a polo or jacket, I draw a vertical line at the center of the chest and a horizontal line where I want the bottom of the stitching to land. The lines wipe away after the piece is done.
Do not guess at the center. I once hooped a dozen towels with a marker that was too faint and had to re-hoop nine of them. A fresh water-soluble marker makes a clear line on terry, and on dark canvas I use a white chalk pencil. Mark the top layer only so you are not drawing on the back of a customer's towel.
Step 3: Lay the Backed Fabric Over the Bottom Half
Set the bottom half of the Sew Tech magnetic hoop on your work surface. Lay the fabric on top, right side facing up, and settle it so the center marks are inside the hoop opening. Use one hand on each side to smooth both the fabric and the backing as you lower the material into position.
Before you bring the top half near, check the opening from directly above. If the center mark has moved, lift the fabric and set it down again. This is the cheapest fix in the whole process, and it takes about three seconds. Once the magnets close, the same fix takes three minutes.
For a canvas tote, I avoid hooping over the side seam. I position the hoop on the front panel so the magnets pinch only the tote wall and the backing. A side seam adds two extra layers and creates a spot where the frame cannot close flush.
Step 4: Lower the Top Section Evenly and Let It Seat
Carry the top half of the hoop straight down over the fabric. Magnetic hoops pull more strongly as the two sections get close, so do not let one corner touch first. I lower the edge nearest to me, check that the fabric is still smooth, and then release the rest. The frame seats with a solid pull instead of dropping all at once.
When the frame is together, run your fingers around the full outside edge. The fabric should feel drum tight in the center and flat at the rim. If one side is looser than the other, lift that side and let it reseat. With a clamp hoop, you turn the screw to fix a loose spot. With a magnetic hoop, you adjust before the frame closes.
Do not crank on the top half. Magnetic hoops are not a squeezing tool. If the fabric is not tight enough, open the frame, smooth the fabric from the center outward, and set the top half down again. The magnets give even tension when the fabric underneath is even. Hand pressure on one corner only makes the wrinkle worse.
Step 5: Run a Basting Pass and Check the Back
Before I sew a real design, I run a basting box around the design area. The basting stitches hold the fabric and backing together through the first few thousand stitches. When I am done, I pull the basting thread out with tweezers. If the fabric shifts during the basting pass, it shifts while the mistake is still easy to fix.
After the basting pass, stop and look at the back side of the hoop. The backing should be smooth and free of bubbles. Then look at the front. If the towel pile is standing up unevenly, add a water-soluble topping before you start the actual embroidery. The topping holds the pile down while the needles work.
If the fabric moved even slightly, do not try to sew through it. Open the hoop, smooth the layers, and rehoop. It feels like starting over, but it is faster than unpicking a registration problem after five colors have gone down. I keep a piece of scrap terry beside the machine and test every new hoop and fabric combination before I use it on customer goods.
Why Registration Gets Better on Thick Fabric
Registration means every color lands in the same place. When a towel shifts under the needle, the second color sits one thread off from the first. Magnetic hoops reduce shifting because the entire hoop area is held with equal pressure. Less shifting means better registration.
That is the reason my last towel order sewed out clean on the first pass. I did not change the design or the needle. I only changed the way the fabric was held, and the difference showed up in every corner of the design.
What Else Helps
Use a water-soluble topping on towels and fleece. The pile on those fabrics springs back up between stitches, and topping is a thin film that holds the nap down. Lay a piece over the right side of the fabric before you hoop, then rinse it out after the stitch out.
One more thing that helps is matching the hoop size to the design. A 6x10 magnetic hoop gives me room to center a small design without crowding the magnets. I keep a smaller hoop for patch-size work and use the 6x10 when I need the full design area under even pressure.
Thick fabric does not stay put under a screw clamp. It stays put under even pressure, and a magnetic hoop spreads that pressure across the full design area.
Where a Magnetic Hoop Still Needs Care
Magnetic hoops still have limits. When I hit a folded blanket hem or a canvas tote with a bulky side seam, I pull out a standard clamp hoop and use that instead. Even pressure only works if the whole frame can close flush. On a spot that is heavier on one side, the magnetic pull cannot make up for the uneven thickness.
Because the frame is magnetic, it will pick up pins, needle fragments, and anything else metal that sits nearby. I clear the table before I hoop and store the frame where thread snips will not fall on it. A stray pin between the frame and a damp towel can leave a dark spot after it sits overnight.
If You Sew for Customers, Hoop Twice
When I am rushing, I am tempted to close the hoop once and go. A rehoop costs thirty seconds when I catch the problem early. A towel with a skewed design costs the whole piece and sometimes the next order too. I now treat the first hooping as a dry run and the second as the one that goes under the needle.
That sounds slow, but it is not. The dry run takes less than a minute because the backing is already cut and the center marks are already drawn. The second close is the same hoop, same fabric, same position. It simply gives me a chance to feel the tension before thread is in the needle.
The Bottom Line
Hooping thick fabric comes down to even tension. Screw hoops give you one point of adjustment. Magnetic hoops give you an even pull across the whole design. If you move the backing, the marks, and the fabric smoothing to the front of the routine, the actual hooping takes less than a minute.
I still keep a standard hoop on the other side of the table, because nothing is right for every job. For towels, canvas totes, and fleece, the Sew Tech magnetic hoop is the first thing I grab. For a flat shirt back, I keep doing what I always did.
Start Hooping Thick Fabric Without the Rehoop Battle
The Sew Tech 6x10 magnetic hoop is the frame I reach for on towels and canvas. Give it a try on your next thick-fabric order.
Amazon Check Today's Price of the Sew Tech Magnetic Hoop on Amazon →