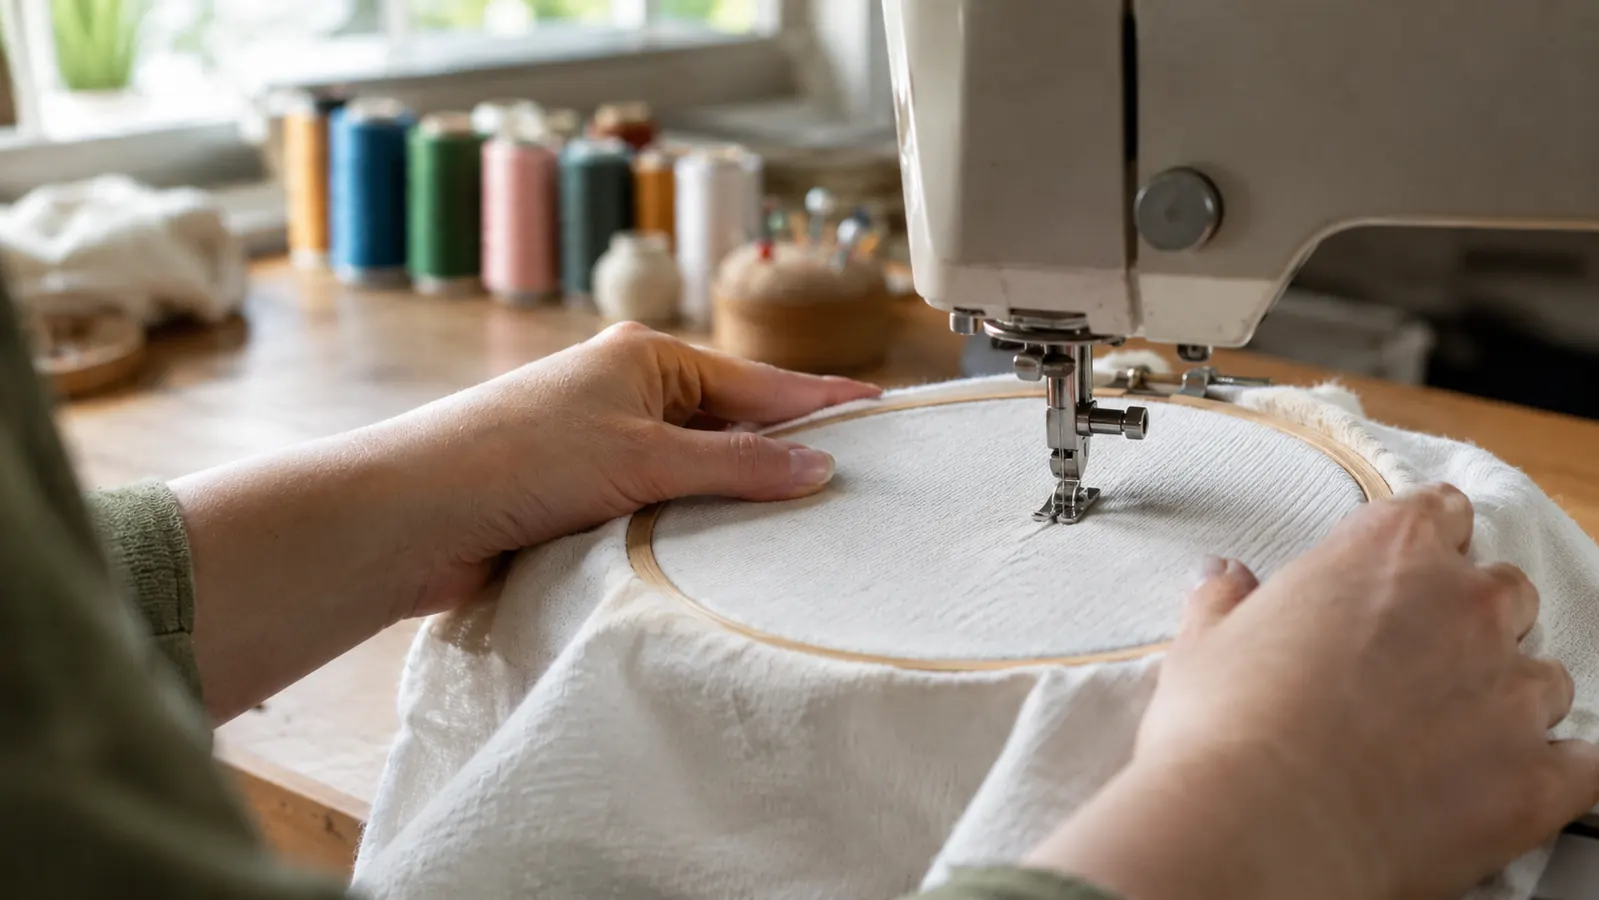
When a design runs and some stitches just don't land, your first instinct is to blame the thread, then the tension, then the whole machine. I run a used six-needle machine in a converted spare bedroom in Macon, Georgia, and I have been guilty of every one of those instincts. Over the years I have changed thread cones, cleaned the rotary hook, and called the dealer once before I learned that the fix was often sitting in the needle drawer. The encouraging part is that skipped stitches are usually one of the easier problems to diagnose once you know what to look at first. Once you learn to read the missing stitch, you can fix it in less time than it takes to wind a new bobbin.
Skipped stitches in finished lettering are rarely a machine fault. They are a needle mismatch. I learned that on a rush order of 24 left-chest polos for an HVAC company, when the logo kept skipping up the knit collar and I was ready to blame my six-needle. I switched to a SCHMETZ Gold embroidery needle in 90/14 from the pack on my thread cart, and the second shirt ran clean. Ever since, a fresh needle is the first thing I reach for whenever a design starts to miss. No machine, no matter how well maintained, can compensate for the wrong needle.
Before you touch the tension dial, change the needle.
Skipped stitches are usually a fresh needle problem, not a machine problem. Match the type and size to your fabric, run one test, and if the skip disappears you have probably just saved the whole order.
Amazon Check Today's Price on Amazon →Step 1: Read the skip before you touch the needle
Hoop a test swatch in the same fabric and stabilizer you plan to use, then run the same logo or a small satin letter. Watch where the missed stitch falls. A skip that lands at the same digitized point on every repeat, even when you stitch on different fabrics, is a design problem, usually density that is too high or a jump stitch with too little coverage. A new needle will not cure that. But skips that move around and only appear on stretchy knit are a needle announcing it has reached the end of its working life.
Turn the hoop over and look at the underside of the stitching. When the top thread dips down, wraps around the bobbin thread, and then fails to lock on top, the needle point is not forming a clean loop at the moment the hook passes. A slightly dull point or a barely bent needle produces exactly this pattern. It is intermittent, it travels through dense lettering, and it seems to have no logical cause. That is why I remove and inspect the needle before I ever loosen the tension assembly, because tension problems do not usually skip only now and then.
I also use the test swatch as my record. After you install a fresh needle, run the same design on the same fabric and compare the two pieces side by side. If the skip disappears, thread the job and stitch it. If the skip remains, you saved yourself a ruined garment and you now know the problem lives in the file or the hooping. That knowledge is worth the ten minutes the test takes, especially on a Friday afternoon when you are already behind.
Step 2: Match the needle type to the fabric, not to the machine
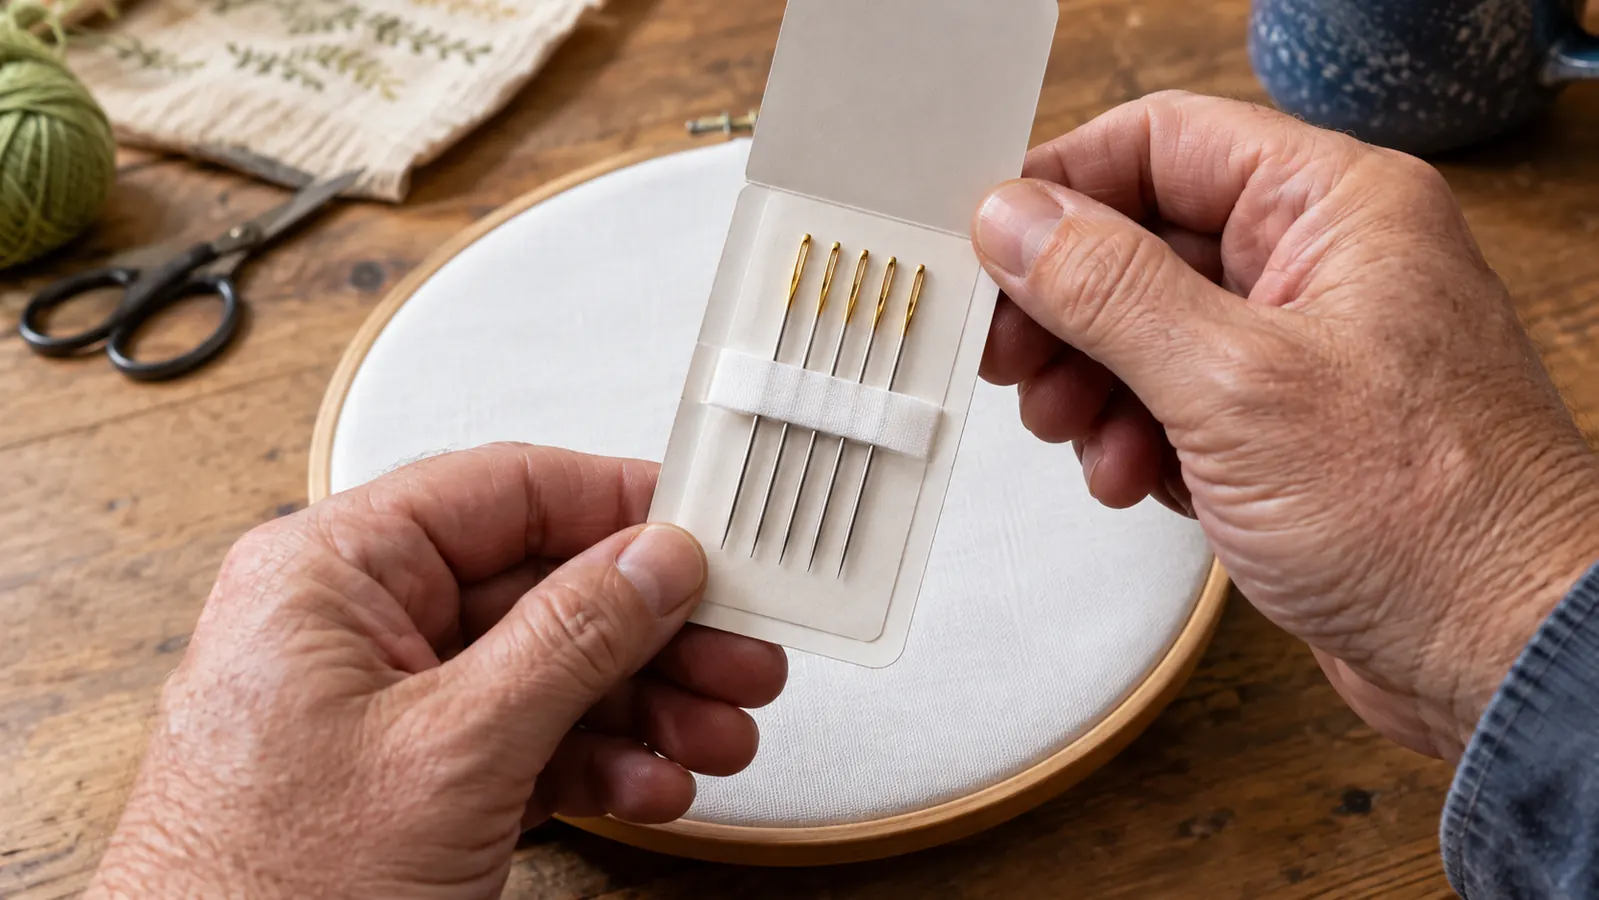
Embroidery needles are shaped differently from ordinary sewing needles, and the difference matters more at embroidery speed. The scarf, the groove hollowed out just above the eye, gives the hook room to come close enough to catch the thread loop. The point profile is made to push through densely packed stitches rather than slice through the fabric. A universal needle may look similar in the pack, but it does not have the same scarf geometry, so it can fail to form a reliable loop when the design stacks hundreds of stitches into one small area.
SCHMETZ Gold embroidery needles carry the same embroidery-specific shape and then add a titanium coating. The coating is not decoration. It lowers friction as the needle travels through fabric at high speed, and less friction means the needle runs cooler and the thread slides through the eye more smoothly. In practical terms, that adds up to fewer skipped stitches on dense logos, on pique collars, and across a long run of towels where each piece has a slightly different seam to cross. Does titanium make a needle unbreakable? No. It just helps it stay true longer.
The card that stays closest to my machine is SCHMETZ Gold Embroidery in 90/14, the same pack I reach for when I am not sure what a job needs. I keep a card of 75/11 in the drawer for lightweight jerseys and a card of 80/12 for quilting-weight cotton, but 90/14 is the one that handles the bulk of my work. Choosing embroidery type over universal, before I choose size, solves more skipped stitch problems than any amount of thread changing and tension tweaking.
Step 3: Pick the right needle size for the fabric and the order
Needle size determines how large a hole the needle leaves and how much it flexes when the fabric pushes back. Sizes run from a fine 65/9 for sheer material to a heavy 100/16 for canvas and denim. In a small home shop you rarely need the whole range. The 90/14 in this SCHMETZ Gold pack is my everyday choice for cotton pique, smooth polyester blends, and most towels. It is strong enough to push through a collar seam without flexing, yet small enough that the hole closes after the first wash.
The skipped stitch you cannot explain is often a needle that is too small. A 70/10 has to work much harder to enter a dense knit, and a slight bend under pressure changes the timing just enough that the hook misses. You will not see the bend. You will only see the missing stitches. At the other end, a needle that is too large makes the opposite mistake. It pushes fibers apart and leaves permanent holes, so the fabric looks damaged even though every stitch caught.
Here is the rule I use in my own shop. For a standard polo and a firmly woven shirt, start with 90/14. For light cotton jersey and thin performance fabric, drop to 80/12, then to 75/11 only if the material is fine enough to show every mark. When in doubt, test 90/14 on a scrap first. Does the material show holes? Go one size smaller. Does it skip? Go one size larger. The right size is the one that gives a clean satin edge without leaving a permanent trace.
Step 4: Seat the needle correctly and check the point before you blame anything else
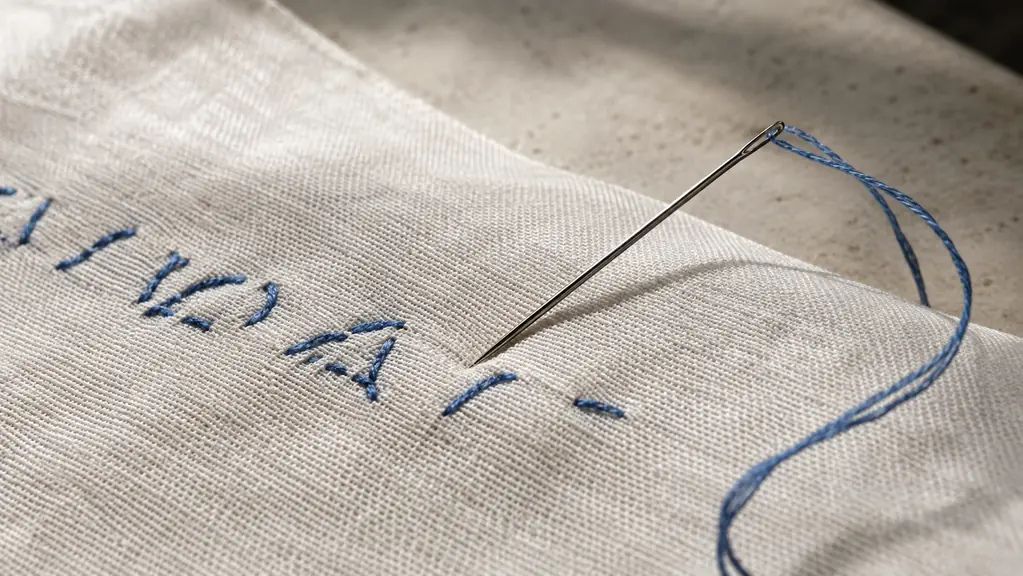
A needle that is not seated correctly will skip even if it is brand new. Push the needle up into the needle bar until it cannot go any farther, with the flat side of the shank facing the direction your machine manual shows, and tighten the set screw with the correct driver. I learned this after chasing a ghost for half a day on a run of caps. The needle had not been pushed all the way up, so the hook was meeting the loop late on every third rotation. When I reseated it properly, the next hat ran clean.
Plain steel needles and titanium coated needles can both arrive bent, and a needle can also bend the first time it hits a pin or a hard seam. Roll the needle on a flat surface before you install it, or put it under a bright lamp next to a needle you know is straight. Any bend at all is enough to cause intermittent skips, because the point is no longer in the exact center of the motion of the needle bar. Do not try to straighten it. Replace it.
Before seating the new needle, clean the needle bar with a soft brush. Lint and thread dust gather in the clamp area and can prevent the needle from seating all the way. That single minute of cleaning removes another hidden cause of skipped stitches and gives a fresh needle a fair chance to do its job. I do this on every needle change now, whether I am putting in a 75/11 for a lightweight run or a 90/14 for a batch of towels.
Step 5: Change on a schedule before the run starts skipping
The stitch that costs you the most is the skip that shows up on piece 40 of a 50 piece order. By then you have already hooped, run, and trimmed dozens of pieces, and one failed letter can mean a customer-visible flaw in the middle of the run. I keep a simple habit. Start with a fresh needle before any job of more than 30 left-chest logos, and replace the needle after about eight hours of dense stitching. That sounds wasteful until you count the minutes you will spend ripping out even one failed letter.
Titanium coating delays dulling, but it does not stop it. Every needle eventually loses its point, and the loss is not always gradual enough to warn you. A needle can stitch ten towels cleanly and then miss on the eleventh because the point finally crossed a threshold. That is why the schedule matters more than how the needle looks. You cannot see a dull point under a shop light, but the machine can feel it at speed. SCHMETZ Gold needles hold their edge longer than plain steel ones, yet they are still a consumable part.
I do not trust memory for this. In my workroom, I keep a small pad of sticky notes on the thread cart, and before I thread a new order I glance at the note from the last job. If I cannot tell from the note how long that needle has been in the machine, I change it. That one habit has prevented more skipped stitch problems than any tension adjustment I ever made.
What Else Helps
The needle does its part, but a needle cannot fix a fabric that shifts while it is being stitched. Use a cut-away backing that suits the garment, hoop firmly enough that the cloth does not ripple, and add a topper or a second layer of backing for towels and caps. I also run top tension as low as the design will allow, because high tension pulls the needle slightly off line and turns a good needle into what looks like a skipping one. Thread quality matters as well. If changing the needle does not stop the skips, work through those areas in this order: backing, hooping, tension, thread. Nine times out of ten the problem gets found before you replace parts that are not broken.
One more thing I do in my own shop is keep a dedicated test hoop loaded with the same cut-away backing and a piece of smooth cotton twill. That lets me check a needle change in under two minutes without wasting a shirt. When a new pack of needles arrives, I test a card before I trust it with a customer order. Needle quality is consistent, but consistency is exactly why I test: it gives me a baseline so the next skip is easier to diagnose.
A dull needle can stitch all afternoon through twill and then skip on a knit collar the same day. Change the needle first and let the tension dial keep its job.
The next time your machine misses a stitch, start at the needle. Read where the skip happens, match the type and size to the fabric, seat it all the way up, and replace it on a schedule that does not depend on your memory. Five minutes of testing can save an order, and the fix is something any home embroiderer can do without a service call.
Fix the skip at the needle first.
A fresh SCHMETZ Gold pack belongs on every embroidery worktable. Match the point and size to the fabric, change on a schedule, and spend more of your evening stitching and less of it fixing skips.
Amazon Check Today's Price on Amazon →