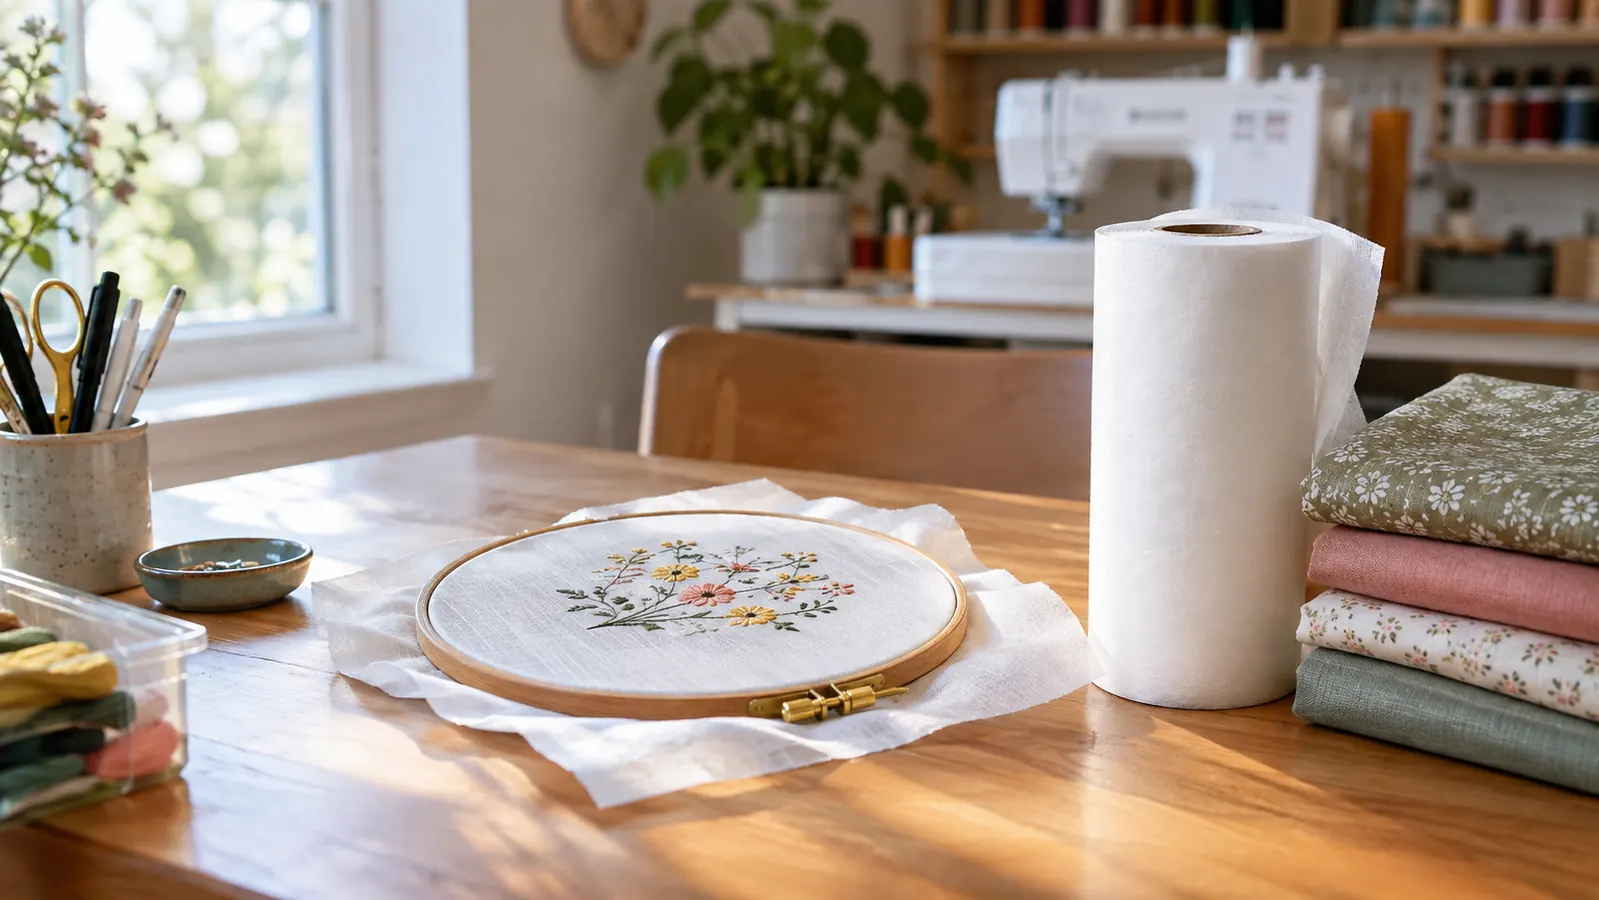
Most pucker does not start at the needle. It starts in the hoop. In 2016, my first year stitching, I took a rush order for a local softball team and hooped the shirts the quick way, just the fabric, with a loose sheet of stabilizer lying behind it. The one-color left chest logos came out with letters that rippled, and I spent three nights ripping out stitches. That was when I learned a simple truth: fabric and stabilizer have to be hooped together, as one layer, before you ever start a run.
My everyday roll for woven work is New brothread tear away stabilizer, cut to the hoop with a couple of inches to spare. It holds dense satin lettering without letting the fabric sag, and it tears away cleanly from the back when the design is done. But a good roll will still give you shifting and puckers if you treat it wrong. This is the exact hooping sequence I use on polos, towels and canvas bags now, the sequence that took my post-hoop fixes down to almost none.
Flat stitching starts underneath the fabric
New brothread tear away is the roll I keep beside my six-needle for woven jobs. Use the hooping method below and you can stop babysitting shifting fabric and puckered edges. Check today's price on Amazon and keep a roll on your own cart.
Amazon Check Today's Price on Amazon →Step 1: Match the tear-away to the fabric
You cannot hoop your way out of a stabilizer mismatch. Tear-away works best when the fabric underneath is stable enough to hold its own shape once the stitches land. That means woven cotton or poly poplin shirts, towels, cotton canvas bags, placemats and the like. If the base fabric stretches a lot, like a performance knit or a ribbed cuff, tear-away is the wrong tool. Reach for a cut-away or a fusible no-show mesh instead, and come back to tear-away for the next stable job.
When I choose New brothread for stable fabrics, I look for two things: a firm hand and a clean tear. The roll stays in my converted spare bedroom in Macon, Georgia, and it has enough body to support dense designs without fighting me when I pull it from the back of a finished towel. Stiff stabilizers can grab the needle thread and distort letters as they tear. Limp ones leave too little support under the stitches. This roll lands in the middle, which is why it is the one I keep nearest the machine.
Do not trust the roll's label alone. Test a scrap of the actual garment with the actual design density before you commit. If the stitches look recessed or the fabric shifts color where it is stretched, the stabilizer is not doing its job. Switch to a firmer tear-away or add a second layer rather than running a full order and hoping the next hoop will behave better.
Step 2: Cut the stabilizer bigger than the hoop opening
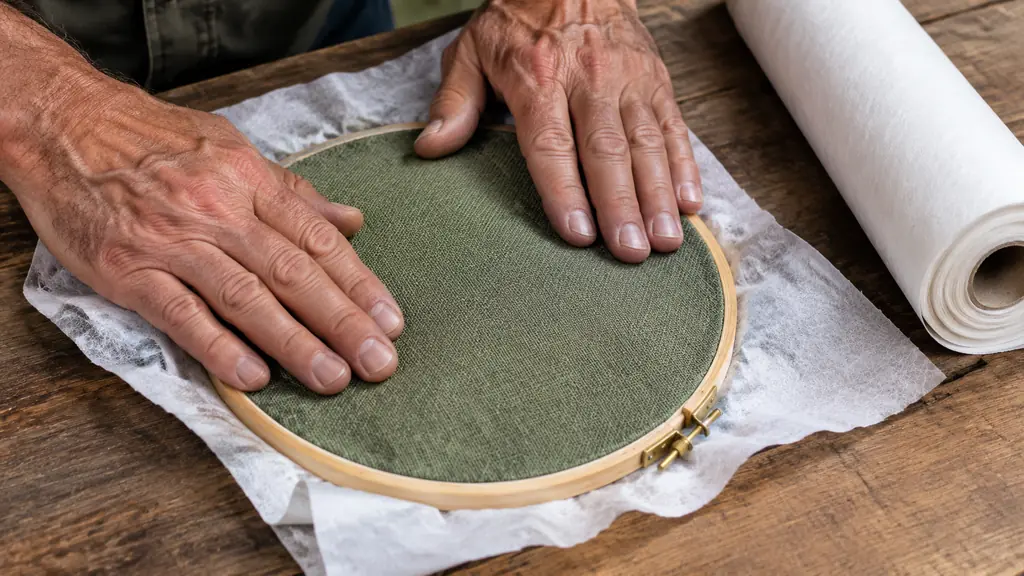
The number one hooping mistake I made early, and the one I see in photos people send me, is a piece of stabilizer that fits exactly inside the hoop ring. If it is the same size as the inner ring, the metal squeezes fabric but barely touches the tear-away beneath it. The stabilizer can shift as soon as the hoop snaps into the machine arm, and a shift mid-run shows up as skipped stitches or misregistration.
I cut tear-away about two inches bigger than the outside of the hoop on every side. For a 5-by-7 hoop, that means roughly a 9-by-11 rectangle. For a 6-by-8, it is a 10-by-12. My 12-inch-wide roll of New brothread makes both of those sizes in one cut with no piecing. You do not need a perfect rectangle, just enough clearance that the hoop ring presses through both layers and leaves you a border to grab when you tear.
The only time I trim closer is for a small 4-by-4 design on a towel with a narrow hem. Even then, I make sure the stabilizer reaches past the top ring so my fingers have something to hold. The extra inch of tear-away is the margin that keeps the stabilizer from sliding out from under the hoop while the needle is running.
Step 3: Hoop the fabric and stabilizer as one layer
Place the stabilizer against the underside of your fabric, keep the right side of the fabric facing up and the design area centered, then close the hoop so the two layers are clamped at the same moment. The exact ring order depends on your hoop, but the test is the same from any brand: look through the back of the hoop and you should see stabilizer across the whole opening, not a rim of bare fabric.
This is the step people skip when the clock is running. They hoop the shirt, snap the hoop into the machine, then slide a piece of stabilizer behind the arm because it feels faster. The problem is that a layer slid in afterward is loose in the center where the needle works. When the needle pushes down, the fabric has room to bounce, and that bounce shows up on the surface as pucker or tunneling.
Once the hoop is seated, do not tighten it all at once. Smooth from the center of the design outward with the flat of your hand, then take up the slack a quarter turn at a time, alternating around the rim. This keeps the fabric grain straight and prevents the diagonal pull that makes a left-chest logo set off-center on the shirt.
Step 4: Do the bounce test before you stitch
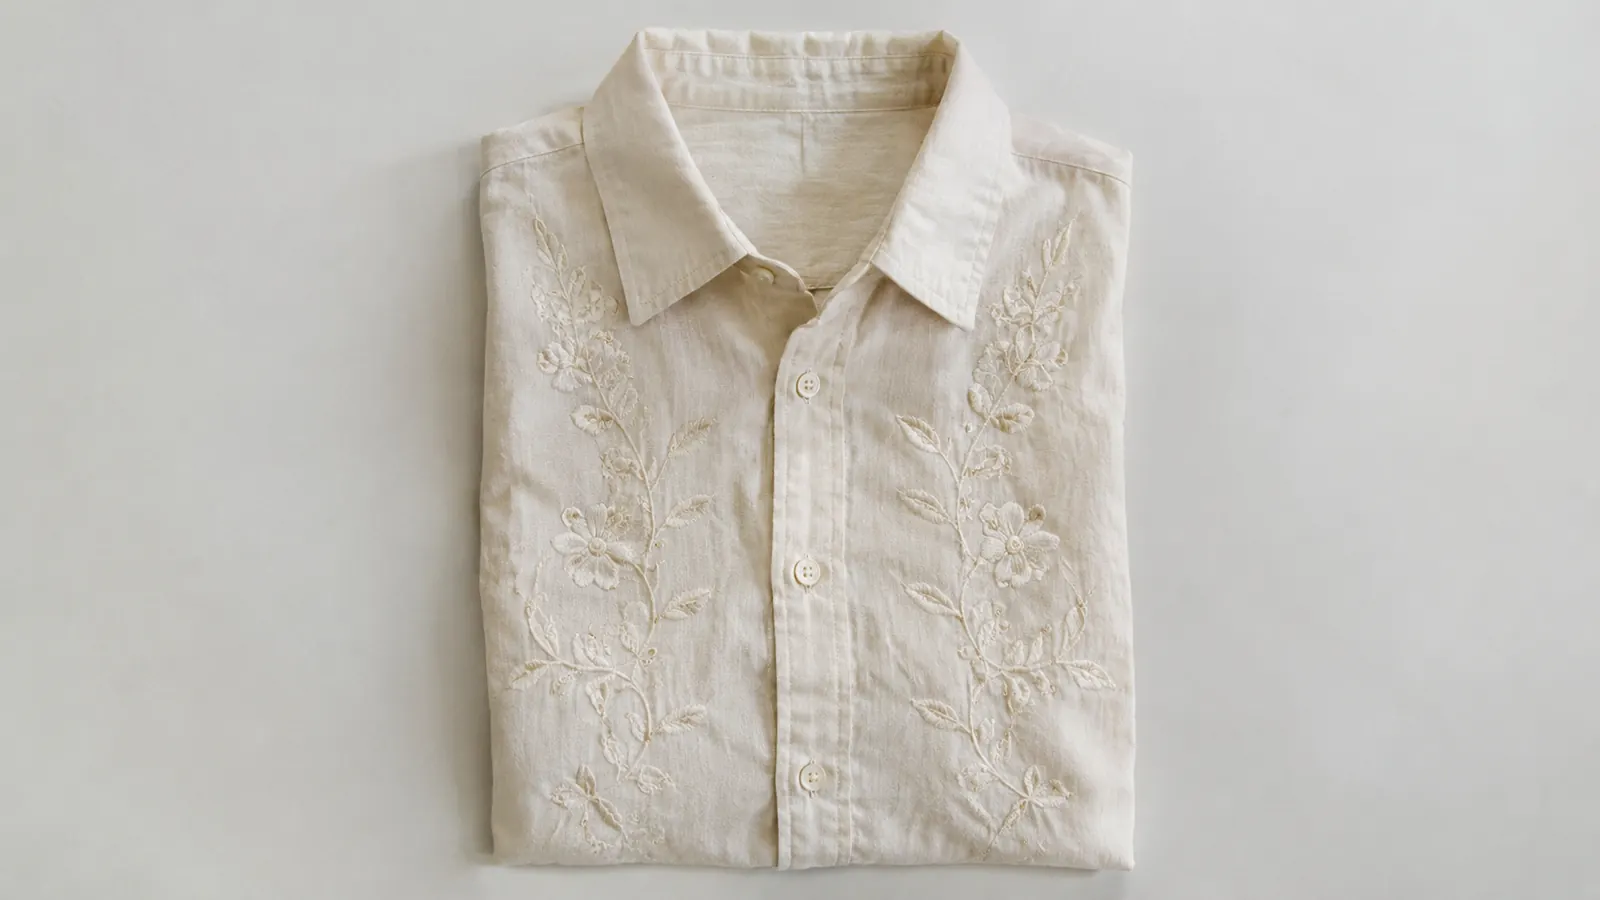
Set the hooped piece on the table and tap the center of the fabric with your index finger. The surface should feel firm, with no give under the tap. If it bounces, the needle will bounce with it, and the thread will struggle to form a clean stitch. Loosen the hoop, press the fabric and stabilizer together, and re-tighten, smoothing again from the center outward.
Do the same test at the edges of the design area. Gently push the fabric near the bottom ring with your thumb. If the fabric slides over the stabilizer independently, the hoop is not holding the two layers as one. Take the hoop apart, re-seat the stabilizer, and close it again. That thirty-second check saves you a whole shirt of pulled stitches.
At the same time, do not overtighten until the fabric looks like a drum with no life in it. You want the fabric smooth and stable, not stretched so hard that the weave distorts around the hoop. If the threads of the fabric are pulling apart, back the tension off. The stabilizer is there to share the load, not to make the fabric fight the hoop.
Step 5: Run a sample, then tear the stabilizer clean
Before the real piece goes on the machine arm, hoop an identical scrap of the fabric with the same stabilizer and run the same design. Look at the surface while it is still hooped. The lines should be crisp and level with the fabric. Then take the hoop off and study the back. The tear-away should lie flat against the fabric with no ripples running underneath the thread.
When I finally stopped hooping fabric alone, I ran the same logo on the same shirt material two nights in a row. The first version had a slight wave along every letter edge. The second, with the stabilizer in the hoop, was flat and clean. That comparison is the reason I run a sample every time, even on orders I have done before. The machine does not get tired, but fabric does, and so does the mood of a person doing a rush job.
After the last stitch, remove the hoop and tear away the excess from the back. Work from the outside in, in small strips, pulling toward the line of stitches rather than away from it. That angle keeps the thread from pulling out of position. Around dense satin areas, leave a narrow fringe and trim it with scissors. This is the detail that keeps the back of your work as neat as the front.
A loose hoop lets the fabric bounce under the needle. Bounce always becomes pucker.
The test I wish I had run earlier
The first six months I hooped stabilizer wrong and did not know it. My designs looked acceptable from a few feet away, but along the edges of dense areas the fabric often had a slight waviness. It took a bright light and a look at the back of a finished polo to see that the stabilizer had never been caught inside the hoop at the outer edges. The needle was pulling it in and out with every stitch, and the fabric was paying for that mistake.
After I switched to hooping both layers, the change was not small. Stitch lines sat clean, the shirt relaxed as soon as the hoop came off, and the back looked like a sample from a shop. That is the lesson I want you to get before you run a full order, not after.
What Else Helps
A clean hoop matters almost as much as the stabilizer. I wipe the rings with a dry cloth before every session so dust and thread fuzz do not make the fabric slip. I also change needles by project type and start with a fresh bobbin wound evenly at medium tension. For dense polyester thread, I keep the top speed a little lower so the stitches settle before the machine moves to the next column.
If you work with slippery rayon or satin, a water-soluble topping can help keep the nap from creeping, and you may want a lightweight cut-away for the base. But for the stable cotton and canvas pieces most of my customers ask for, tear-away hooped as one layer is the foundation. Master this before you start stacking extra products, because the hoop technique carries over to all of them.
I keep my stabilizer rolls standing on end in a dry cabinet away from the window. Humidity is not kind to tear-away, and a damp sheet feels soft and can tear out from under the needle. On humid Georgia summer days, I run the air conditioner a little longer before a big job so the roll and the fabric both stay crisp.
One more thing: mark your hoop sizes on the outside with a piece of tape so you can grab the right hoop without hunting. If you use different frames for caps and flats, set the tear-away roll on the shelf nearest the flat frame. Small habits cut the time between setup and first stitch, and they give you fewer chances to rush through the hooping steps.
Keep the stabilizer in the hoop, not just under it
Hoop New brothread tear-away with the fabric, do the bounce test, and give your next woven run the clean finish your customers expect. Check today's price on Amazon and keep a roll on your cart.
Amazon Check Today's Price on Amazon →